How To Make DIY Pumpkin Planters
These charming DIY pumpkin planters are a festive and fun way to decorate your front porch for fall.

My daughter Cece and I created these fun pumpkin flower pots one September weekend while the cool winds of fall whipped around our faces. In just a few minutes we discovered that this pumpkin flower pot is one of the easiest fall DIY projects you can do.

Using real pumpkins, these homemade planters are also eco friendly: at the end of the season remove the flowers + toss the entire pumpkin into the compost pile!
Get more fall inspiration here!
Supplies
You’ll need the following supplies for this pumpkin craft:
- A medium sized carving pumpkin
- Terracotta or plastic planters
- Fall Flowers
- Soil
- A sharp carving knife
- Plastic bags
- Gloves
- Gallon sized plastic bags (optional)
Tips For Washing Your Pumpkin
Wash your pumpkin prior to starting the project to keep it clean and remove any bacteria that may cause decay. This can help extend the life of the pumpkin and give it a nice clean glow.
Use a bleach bath with a low solution of one teaspoon bleach to a gallon of water, spray down and wipe your pumpkin.
This post contains affiliate links. If you click through and make a purchase, we may make a small commission at no extra cost to you.
How To Make A DIY Pumpkin Container

To make this fall planter, we’ll be cutting the top of the pumpkin off, scooping out the seeds, and creating a pumpkin pail to place the potted plant in.
Ensuring the container and pumpkin are size compatible is the hardest part of this project, but we’ve got some tips to help you with that!
Here’s your step by step guide to this gorgeous fall planter:
1. Choose The Right Size Container + Pumpkin

To start your pumpkin planter, first gather a pumpkin and container that are compatible in size.
To account for the thickness of the shell, the pumpkin needs to be about one and half times as big as the container.
We used a pot that was 8 inches across and a pumpkin that was 10 inches across.
We tried out this project with several different kinds of pots. Plastic pots are the easiest to work with because they are easier to adjust when placing in the pumpkin.
The container and pumpkin do not have to be a perfect fit, however… the inside of the gourd can be shaved with the knife to make more room for the planter if needed (more on that down below). And if the pot sits too low, you can add flower foam crumpled up newspaper, or a flat rock to add height to the planter.
Don’t forget to wash your pumpkin prior to starting the project.
2. Cut The Top Off Your Pumpkin

Use the circumference of your flower pot as a rough guide for cutting off the top of the pumpkin. I found the easiest way to do cut the top is to lay the pumpkin on it’s side and slice in a circular direction, moving the pumpkin as you go.
(If the pot doesn’t fit, you can cut more off, as pictured above!).
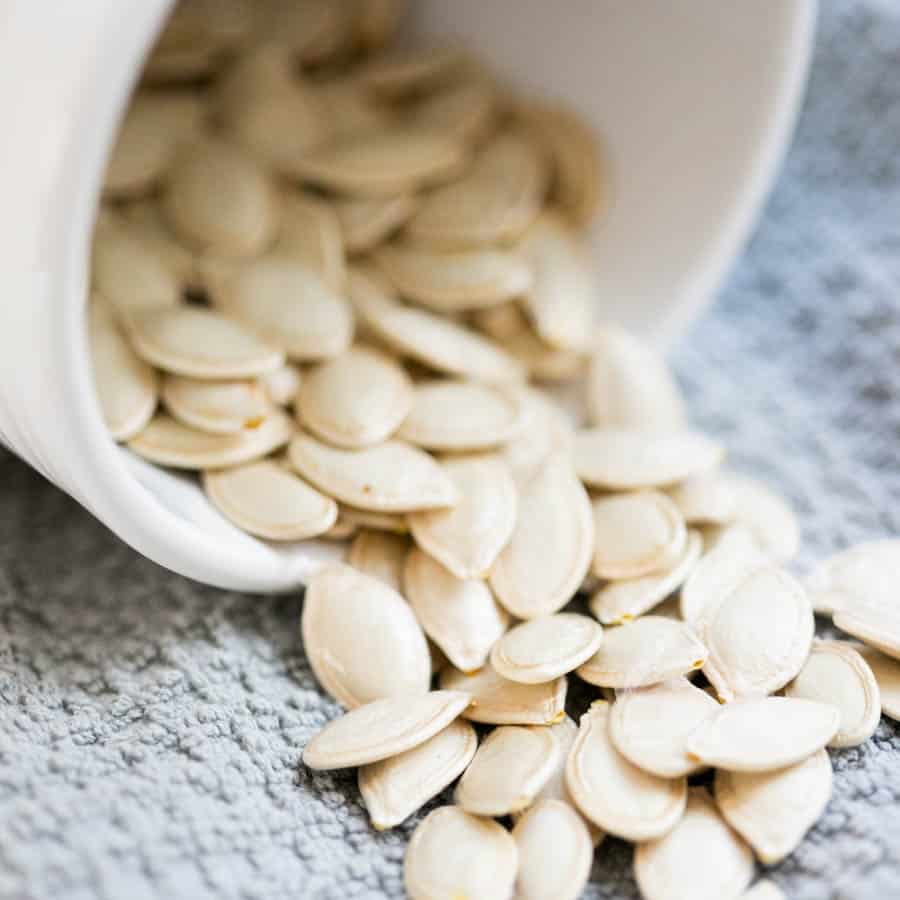
3. Remove Pumpkin Seeds + Let Pumpkin Dry

Grab your gloves because it’s time to start removing the pumpkin seeds and innards.
Make sure to scrape the bottom of the pumpkin and sides, getting the inside of the pumpkin as clean as possible. Leave hollowed out pumpkins to dry for several hours to discourage mold.
4. Adjust Height Of Container

Ideally, the lip of your pot will be slightly above the edge of your pumpkin, allowing you to easily take the pot out of the pumpkin to water your flowers.
Insert your pot to see how it fits in your container. If the inside of the pumpkin is too small, use your knife and carefully carve out some of the pumpkin flesh on the sides of the pumpkin.
If your flower pots needs a boost in height, add some floral foam or rocks/pebbles to the bottom of the pot until the base of the container is flush with the edge of the pumpkin.
This can take a few minutes of adjustment as you work your pot into your pumpkin.
5. Add A Plastic Liner
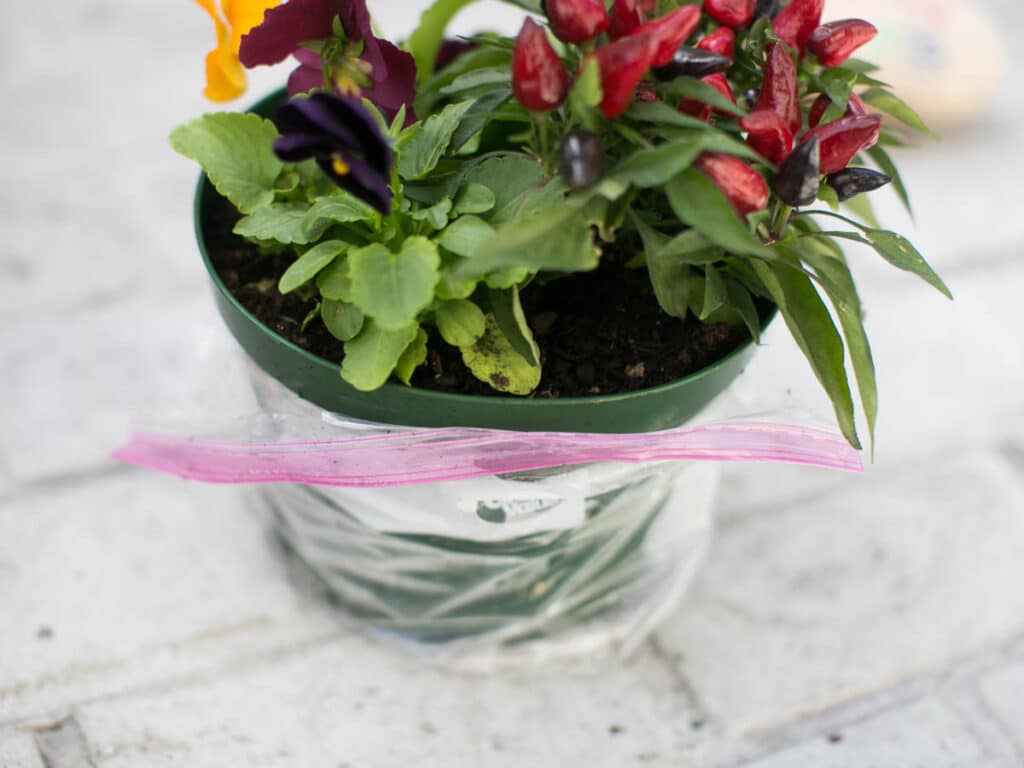
We used a gallon sized plastic bag to prevent excess moisture from leaking into the hollowed out pumpkin after watering.
Cut the seems of the plastic so that it can easily slide around your container, as shown here.
6. Choose Your Flowers
Now it’s time to pick out your flowers and foliage!
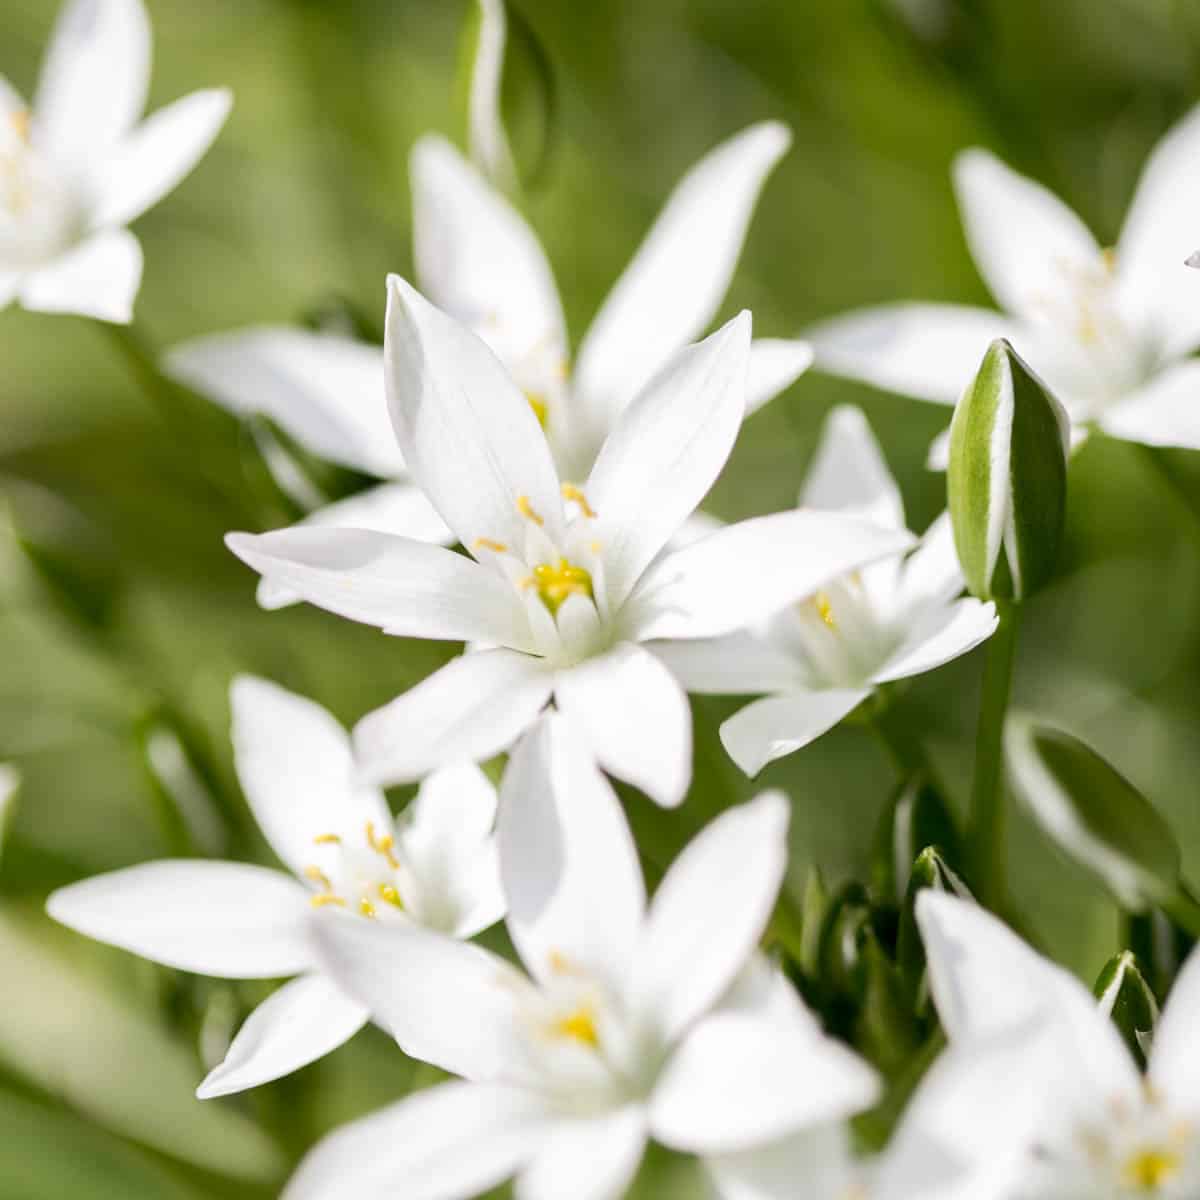
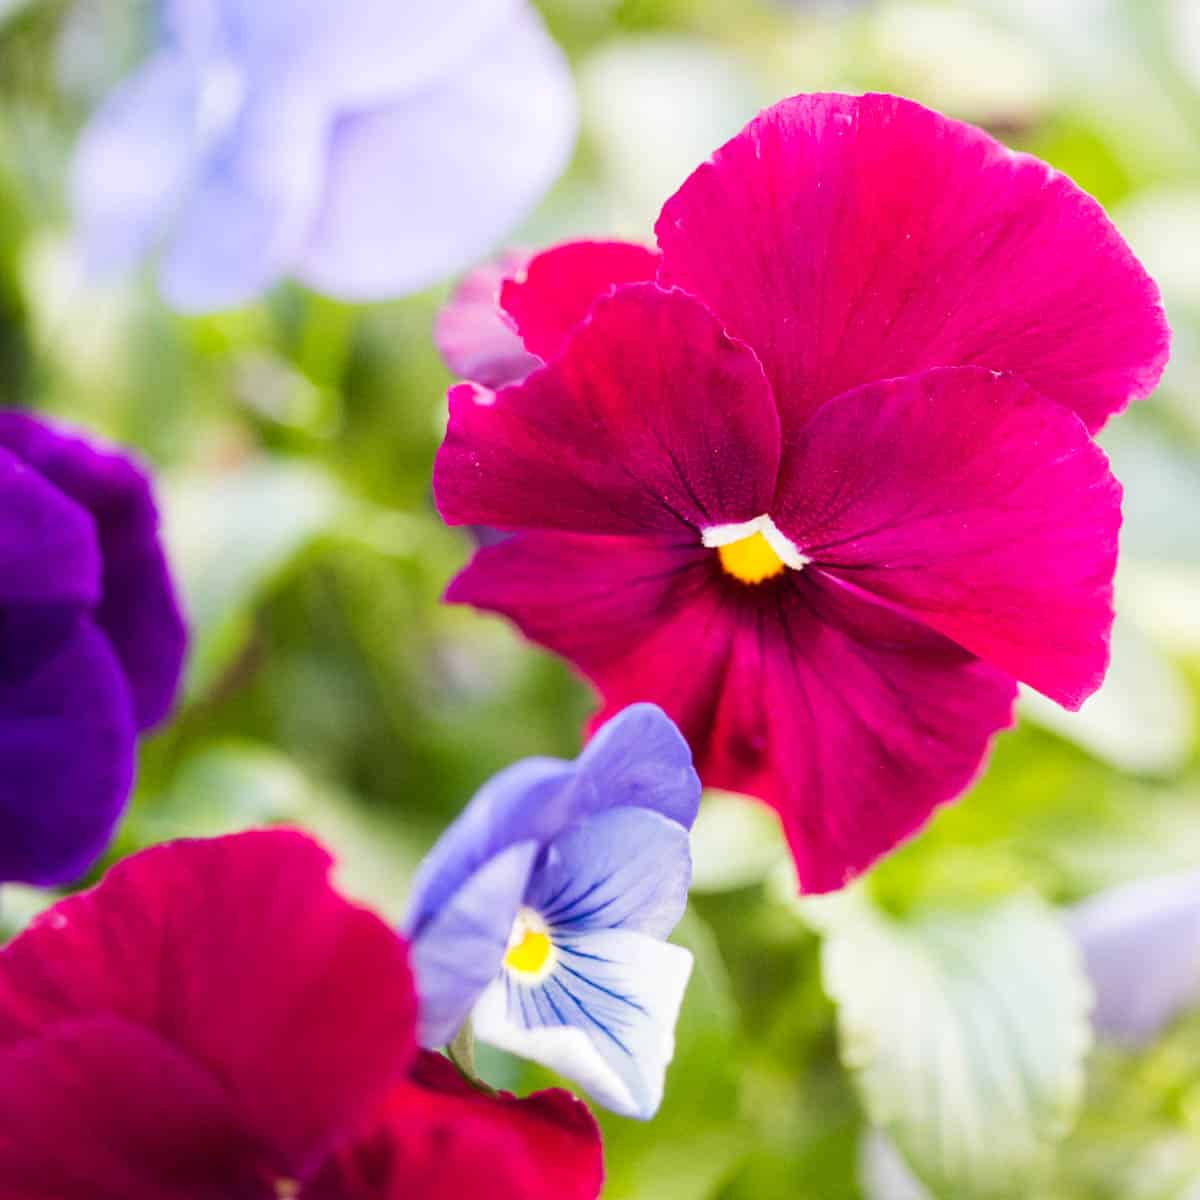
We featured a combination of ornamental peppers, pansies and ferns in our pumpkin planters. Fall flowers and plants can withstand colder temperatures and shorter days of sunlight. There are many plants to choose from, in all kinds of colors and textures!
Here are a few of our favorites:
- Pansies
- Primroses
- Ornamental Peppers
- Snapdragons
- Ornamental Cabbage
- Get more ideas for fall container flowers here
7. Insert Your Flower Pot Into The Pumpkin!
The last step is to place your flowers into your pumpkin. Adjust as needed and enjoy!

How To Water Your Pumpkin Planter
Remove the flower pot from inside the pumpkin prior to watering the flowers, then take off the plastic bag prior to watering. Water your flowers with a gentle stream of water.
Allow any excess water to drain from the pot, then wrap the plastic back around the bottom of the flower pot and insert it back into your pumpkin!
Cooler temperatures and shorter days call for less watering. For most flowers, keep soil consistently moist, and check the soil every few days for moisture content.

Read these excellent tips on how to make your carved or hollowed out pumpkin last longer.
Care Tips + Suggestions
A few tips that will help this project go smoothly:
- Make sure to purchase a carving pumpkin, not a baking variety
- Try to keep your planter out of the rain to delay rot: move it to a sheltered area during rainy weather if possible
- Don’t over water your flowers. Check the soil every few days and when the top inch is dry, water and let excess moisture drain before placing the pot back in the pumpkin

Styling Your Pumpkins
As a former wedding photographer, I have to say that styling flowers is almost as fun as photographing them! Here are a few tips to styling your diy pumpkins:
- Add a variety of fall plants to compliments your pumpkins: ferns, mums, and pansies are all good options!
- For visual interest, vary the height and depth of surrounding planters
- Add in miniature pumpkins and gourds for a richer fall aesthetic
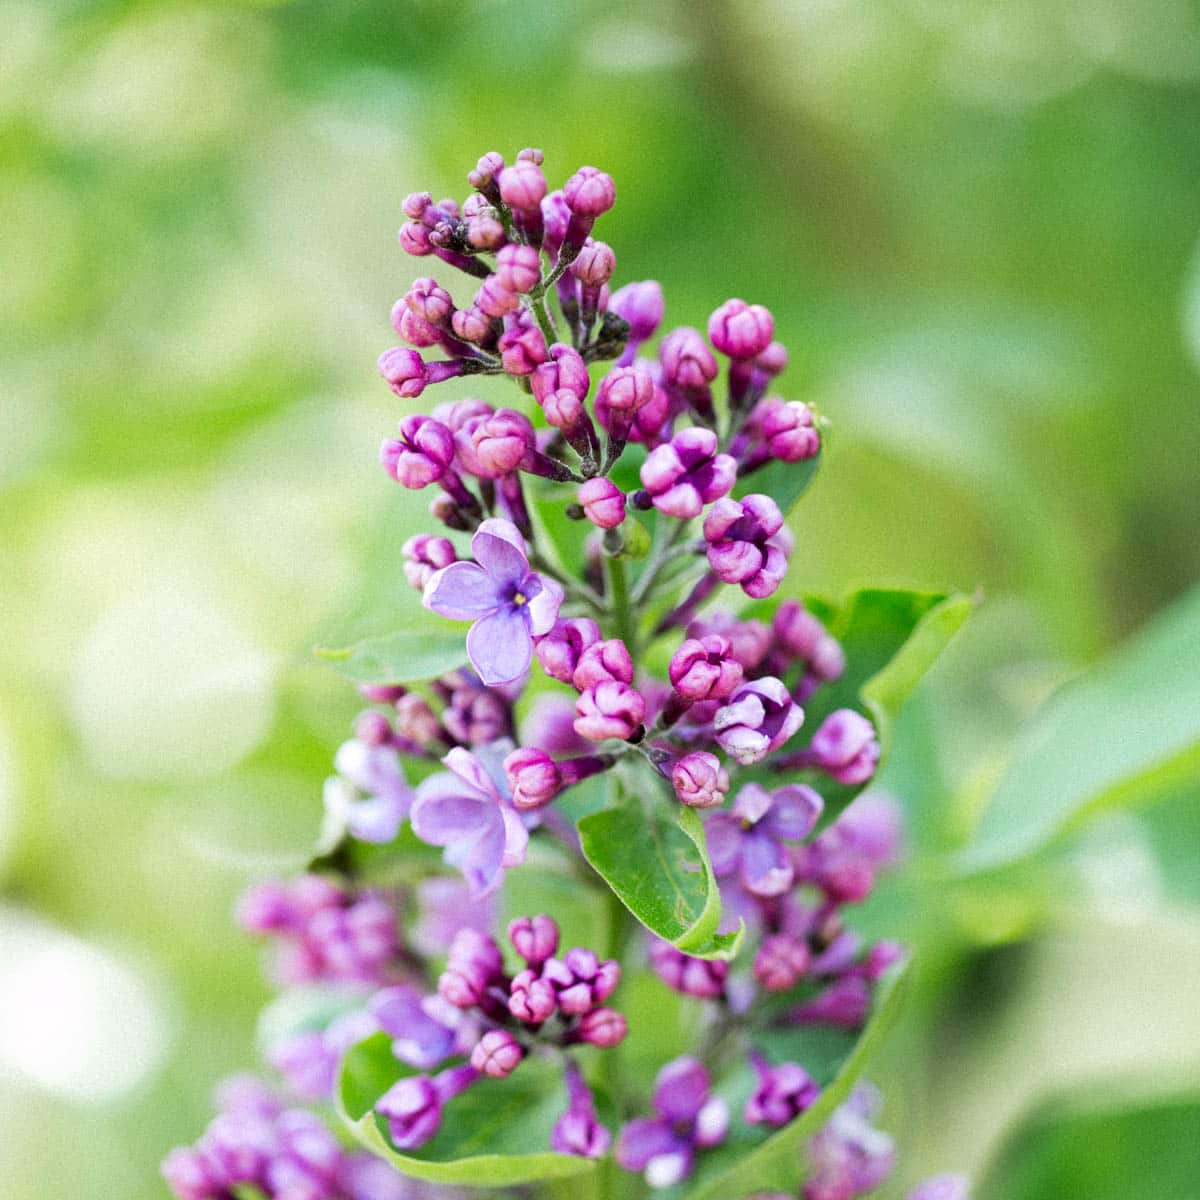
- If some of your summer plants are still blooming, layer them in! (See the happy lavender included with my photos!)
- Tuck ornamental grass, sticks or pine cones into your planter to add more texture + fall fun

More Ideas
Once you’ve created a planter with an orange pumpkin, experiment with some different colors of pumpkins + flowers. Try green or gray toned pumpkins with jewel toned pansies, or even white pumpkins featuring black pansies!
Consider making miniature pumpkin planters with Autumn Gold pumpkins or swap out your flowers for succulents!
Take a stroll through your local nursery to get your creative juices flowing.
Final Thoughts
Like a cozy blanket autumn is settling in on us, but there are still plenty of flower activities to do. This easy craft adds pumpkin charm coupled with gorgeous fall blooms- a welcoming site on a dreary fall day!
Let us know in the comments if you have any questions on these fun diy pumpkin planters. Happy Autumn! With love, Jamie, Cece + Bo
This is a beautiful, eco-friendly craft and decor DIY! Thank you so much for sharing this great idea!
Hi Ada! Thank you so much for stopping by… I love that it’s recyclable as well!