How To Make An Easy Succulent Pumpkin DIY Centerpiece
Add color and joy to your fall decor with this fun succulent pumpkin DIY centerpiece!
Though it looks impressive, this fresh fall centerpiece is easy and simple to make. And quite frankly, we think easy projects are the BEST ones to do!

We made this fall centerpiece by adorning the top of a pumpkin with moss and a variety of succulents. This easy fall project is a great way to embrace the fall aesthetics around your home, and it’s fun to do with friends- or your kids!
The options for decorating this succulent arrangement are endless: you can vary the type of pumpkin, different colors of gourds, and variety of succulent cuttings.
Let’s dive in to the details of how to make diy pumpkin succulent planters!
This post contains affiliate links. If you click through and make a purchase, we may make a small commission and no extra cost to you.
Supplies
To create this beautiful pumpkin planter, first gather your supplies:
- One pumpkin: Cinderella pumpkins have a flat top, making them the best choice for this project. Choose from orange, blue or white pumpkins (available at a pumpkin patch and big box stores)
- Buy a variety of succulent plants, varying sizes between smaller succulents and larger ones. Use trailing plants for added dimension!
- Spanish moss (we purchased ours at Home Depot)
- Glue sticks and hot glue gun (depending on which approach you take)
- Spray adhesive
- Succulent soil (for live planters, see below)

We used a variety of graptoveria succulents, and I would love to create another pumpkin with a trailing variety of succulents or a plant like String Of Pearls.
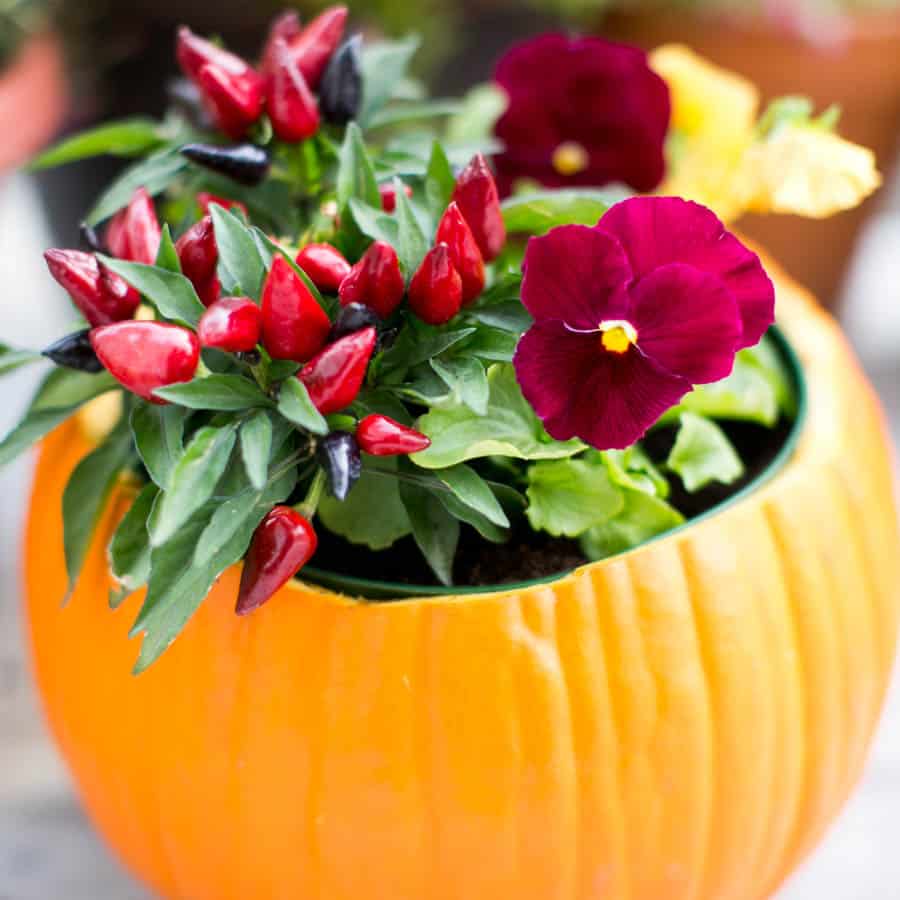
This project can also work on mini pumpkins! Be festive and let your inner creativity flow.
How To Make DIY Succulent Pumpkins
To make a succulent pumpkin planter, you’ll simply take moss, arrange it on the surface of the pumpkin, and add succulents!
There are 3 different ways to make this succulent pumpkin centerpiece. Which method you choose depends on how long you want your planter to last, and whether or not you need to transport your project.
Here are the options:
- Set and style your moss and succulents on top of your planter with no adhesive. This is a great approach because it is easy and fast to do, and it does not harm your succulents in any way. The downside is that you will not be able to transfer or move this pumpkin around, but it can give you a beautiful, simple succulent display.
- Plant your succulents into the top of your pumpkin. This is a fun and eco friendly way to create your succulent pumpkin arrangement. You’ll be planting your succulents INTO soil placed on the pumpkin. When the pumpkin begins to decay, you can remove the plants and re pot them. (This is the method we chose to use here).
- A third option is to spray and adhere the moss to the top of the pumpkin, then glue the succulents onto the pumpkin. This is a great option if you are featuring multiple pumpkin succulent centerpieces at an event like a fall wedding and they may get moved or jostled around.

Note: Some people like to carve a hole into the pumpkin, remove the innards, and treat the pumpkin like a flower pot. We don’t think this is necessary with this specific project because succulents can stay fresh for a long time without being potted, and the pumpkin will last longer if it is NOT carved.
Step By Step Instructions
I love the idea of giving the succulents soil to root into, so I opted to plant our succulents into a light layer of soil. Here’s how we did it:
First, wipe down your pumpkin or give it a quick bath in a very light solution of bleach and water. This removes any dirt and will help extend the life of your pumpkin.
Next, move your pumpkin to a clean work surface.

Moisten your succulent soil, then squeeze out any excess water. Make sure to do a thorough job of removing the water- we used paper towels to really squeeze out the extra moisture.
I loved the look of the pumpkin stem, so I left it in place.
Apply a thin layer of soil on the surface of the pumpkin. Arrange your moss around the top, covering any soil.

Add in your succulents, gently pushing the succulent stems into the soil.
Arrange larger succulents towards the back of the arrangement, add small succulents towards the edges, then add in any trailing succulents or plants so that they cascade over the edge.
Keep adding succulents and moss and adjust until you achieve your desired look! Eventually, the succulents will root into the soil on top of the gourd.

A fourth option for creating these festive fall planters is to use a faux pumpkin and faux succulents, available at craft stores. We tend to keep things natural so we didn’t take this approach. But, you could easily create a similar pumpkin centerpiece with hot glue and store bought plants.
Succulent Pumpkin Care
If you give the succulents featured in this project the right care they will last longer. Use these tips to prolong the life of your centerpiece:
- Lightly mist the plants each week to hydrate both the succulents and the moss. Make sure to mist the roots as well. Avoid soaking the plants or pumpkin.
- Succulents enjoy bright, direct light and can be placed near a window for optimal light.
- Place a round piece of cardboard or newspaper under the pumpkin to collect moisture. Replace the paper frequently to prolong the pumpkin from rotting.
- Avoid hot or cold temperature extremes and do not place your pumpkin planter in a dark room.
FAQ
With proper care, this succulent project can last for a couple of months.
Spanish moss is a great choice for these diy fall planters.

Uses For Succulent Pumpkins
These charming succulent pumpkin centerpieces have a variety of uses. Be inspired with these festive fall ideas:
- Feature a succulent pumpkin planter on your front porch in a warm, dry zone
- Create one close to the holidays and use it to decorate your Thanksgiving table
- Use them a centerpiece for a halloween get together
- Feature these gorgeous pumpkin succulent planters as table centerpieces at a wedding (use white pumpkins and neutral toned succulents for an elegant effect!)
- Enjoy your planter as a center piece at your own dining room table!
- Host a fall craft night and have your friends and family over for a festive night of fun!
Final Thoughts
These beautiful pumpkin centerpieces are the perfect addition for your fall decor, and they are so easy you don’t have to have a green thumb in order to create your own!
Featuring living plants and gorgeous gourds, they are a charming and unique way to celebrate fall. Spruce up your fall table with one of these gorgeous living arrangements, and let us know in the comments how it turned out!
Waving goodbye with armloads of pumpkins- Jamie
Other fall posts you may enjoy: